Table of Contents
环境
wsl2+ubuntu22.04
wsl2
在学习过程中经常要使用linux,之前一直在虚拟机上使用linux,但是始终感觉不方便。之后了解到winodws的wsl2,相当于虚拟机,能够使用完整的linux内核,至少在学习上使用非常丝滑。
优点:
- 启动快
- 使用方便
- 支持gui应用
- 性能还不错
缺点:
- 不能使用systemd命令
- 没有静态ip
配合winodws terminal使用,比较舒服。

wsl2如果没开启,需要在设置中开启,并且将wsl版本切换为2。
在wsl2安装linux
在wsl2安装linux非常简单,直接在应用商店搜索,直接安装就行。
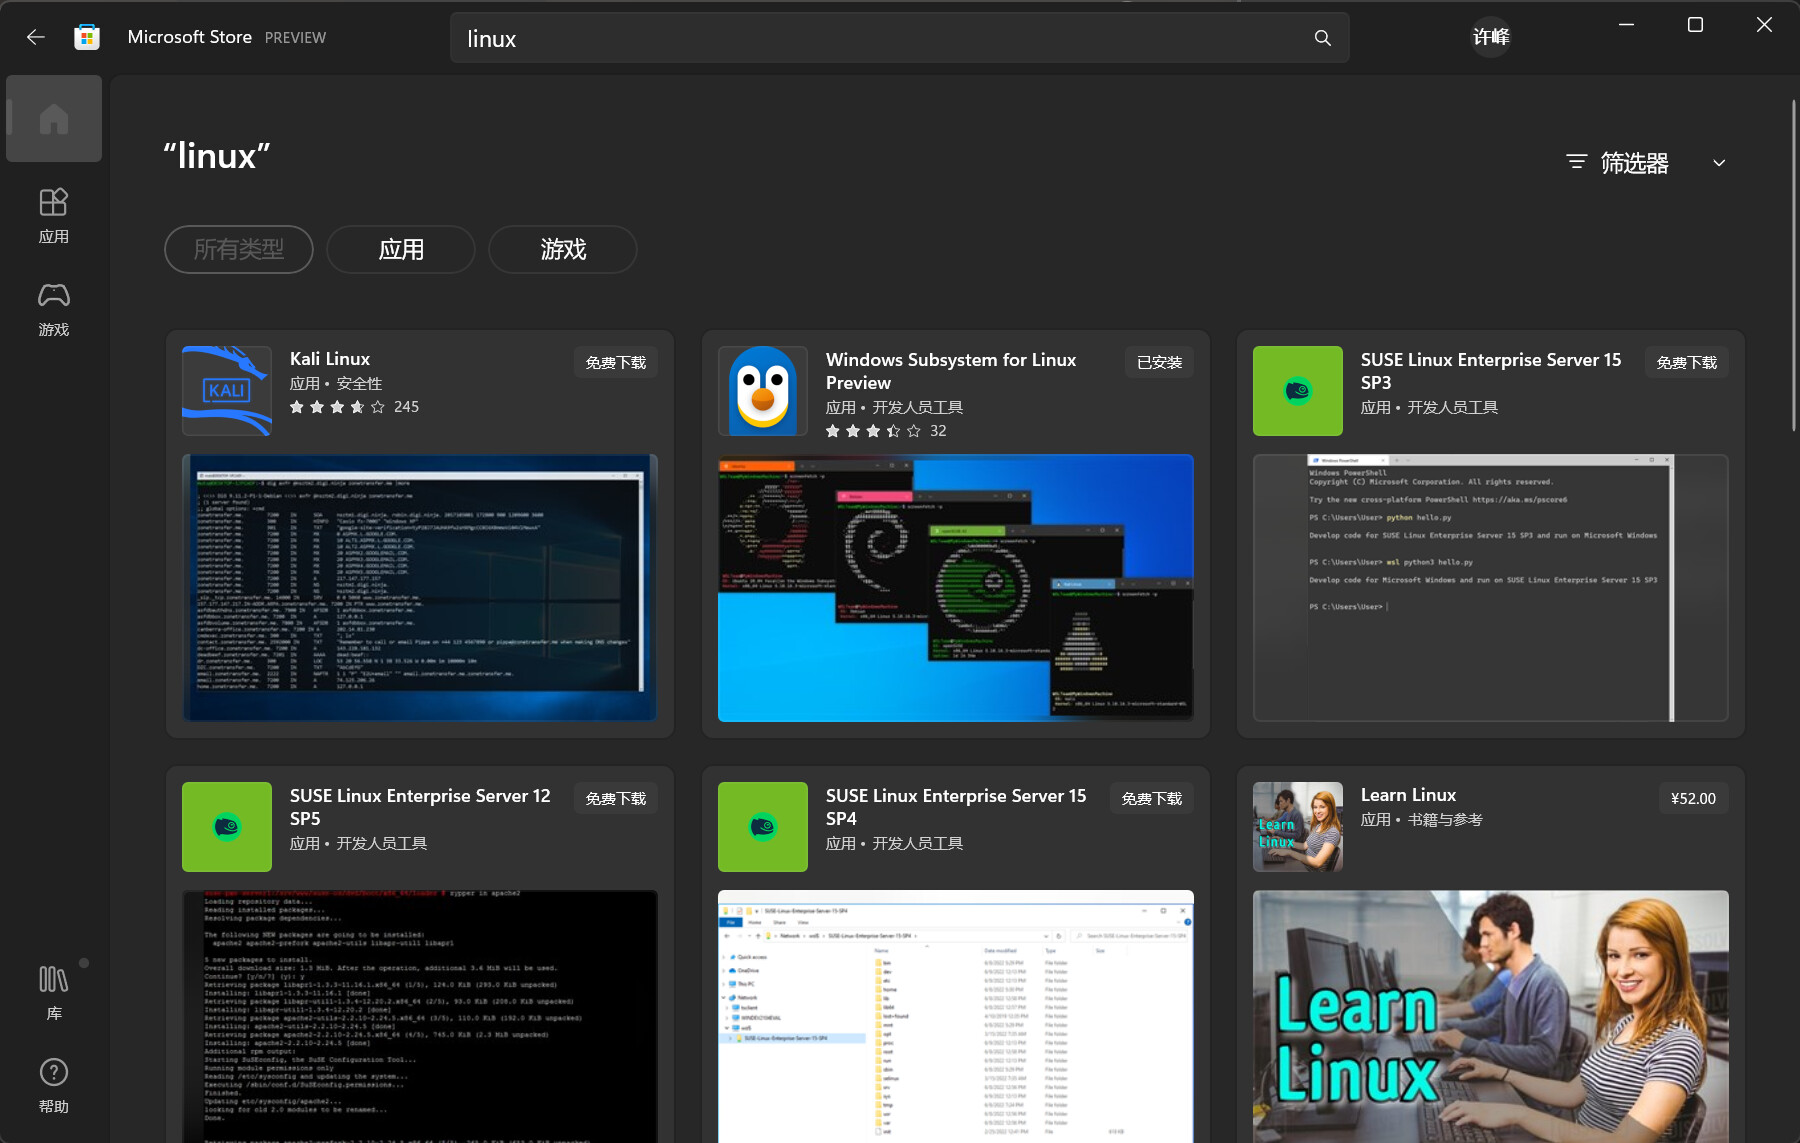
wsl2可以安装几种linux系统,这里我安装的ubuntu22.04版本。
然后就能在windows terminal中使用ubuntu系统了。wsl2中的ubuntu系统有个小功能,就是可以直接访问windows的文件。

在/mnt文件中就有windows的盘符,可以直接访问windows下的文件。但是并不推荐这样使用,两种系统还是独立使用比较好。
切换shell为zsh
bash日常可以使用,但还是太简陋,zsh不仅可以兼容bash,并且有更多方便的功能。
# 下载zshsudo apt-get install zsh
# 切换默认shellchsh -s /bin/zsh
配置zsh
安装oh-my-zsh可以快速配置zsh,这里不过多赘述。
开启常用插件
- git 默认开启
- z 记录去过的目录,使用z+目录名能够快速跳转
- zsh-syntax-highlighting 语法高亮,正确的命令会显示绿色,错误的命令会显示红色。
- zsh-autosuggestions 命令自动补全
配置主题
vim ~/.zshrc修改配置
ZSH_THEME="想要的主题名"重载配置
source ~/.zshrc因为oh-my-zsh主题过于单调,这里我使用oh-my-posh的主题,需要注意的是oh-my-posh需要Nerd Fonts字体,才能正常显示,详细可以看官方文档。
oh-my-posh虽然更好看,但是速度感人,介意的还是直接使用oh-my-zsh的主题
根据官方文档的步骤安装
下载oh-my-posh
sudo wget https://github.com/JanDeDobbeleer/oh-my-posh/releases/latest/download/posh-linux-amd64 -O /usr/local/bin/oh-my-poshsudo chmod +x /usr/local/bin/oh-my-posh下载主题
mkdir ~/.poshthemeswget https://github.com/JanDeDobbeleer/oh-my-posh/releases/latest/download/themes.zip -O ~/.poshthemes/themes.zipunzip ~/.poshthemes/themes.zip -d ~/.poshthemeschmod u+rw ~/.poshthemes/*.omp.*rm ~/.poshthemes/themes.zip然后在~/.zshrc文件末尾加上这行代码
# 我使用的是powerlevel10k_lean比较简洁eval "$(oh-my-posh --init --shell zsh --config ~/.poshthemes/主题名.omp.json)"一点小问题
使用zsh高亮插件时,由于插件会在环境变量里检查命令,而wsl2的环境变量包含windows的环境变量(便于直接运行windows程序),会导致命令输入有明显的卡顿,因此需要将ubuntu中的windows环境变量去除。
在~/.zshrc中添加以下代码
# 可以根据自己的盘setopt no_nomatchexport PATH=`echo $PATH | sed 's/:\/mnt\/c\/[^:]*//g'` # 替换c盘的环境变量export PATH=`echo $PATH | sed 's/:\/mnt\/d\/[^:]*//g'` # 替换d盘的环境变量export PATH=`echo $PATH | sed 's/:\/mnt\/e\/[^:]*//g'` # 替换e盘的环境变量然后重启或者重载配置文件
source ~/.zshrc就可以流程使用,没有卡顿,如德芙般丝滑。
同步时钟
可以先设置下时区,如果无效,可以使用这个命令
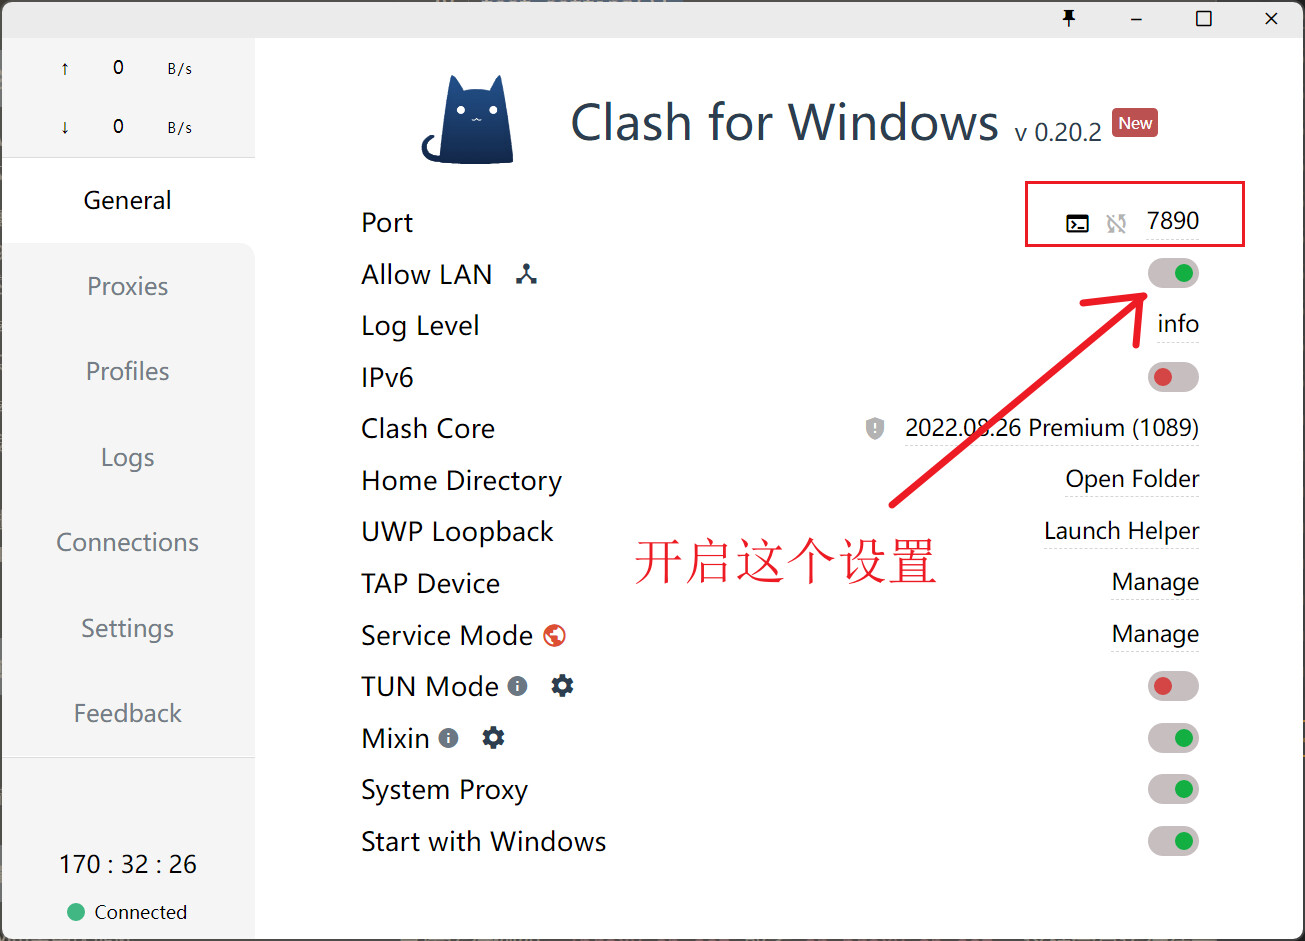
sudo hwclock -swsl2虚拟机使用宿主机的cfw代理
借鉴于csdn上想做一只开心的菜鸡的文章,使用脚本。
创建一个脚本文件
touch ~/proxy.sh代码
#!/bin/shhostip=$(cat /etc/resolv.conf | grep nameserver | awk '{ print $2 }')wslip=$(hostname -I | awk '{print $1}')port=7890
PROXY_HTTP="http://${hostip}:${port}"
set_proxy(){    export http_proxy="${PROXY_HTTP}"    export HTTP_PROXY="${PROXY_HTTP}"    export https_proxy="${PROXY_HTTP}"    export HTTPS_proxy="${PROXY_HTTP}"    export ALL_PROXY="${PROXY_SOCKS5}"    export all_proxy=${PROXY_SOCKS5}}
unset_proxy(){    unset http_proxy    unset HTTP_PROXY    unset https_proxy    unset HTTPS_PROXY    unset ALL_PROXY    unset all_proxy}
test_setting(){    echo "Host ip:" ${hostip}    echo "WSL ip:" ${wslip}    echo "Current proxy:" $https_proxy}
if [ "$1" = "set" ]then set_proxyelif [ "$1" = "unset" ]then unset_proxyelif [ "$1" = "test" ]then test_settingelse echo "Unsupported arguments."fi在port输入cfw的代理端口,默认为7890
运行:source ~/proxy.sh set
取消:source ~/proxy.sh unset
可以直接将这条命令放在.zshrc中,这样每次开启都会自动运行。
使用命令wget www.google.com测试是否有效
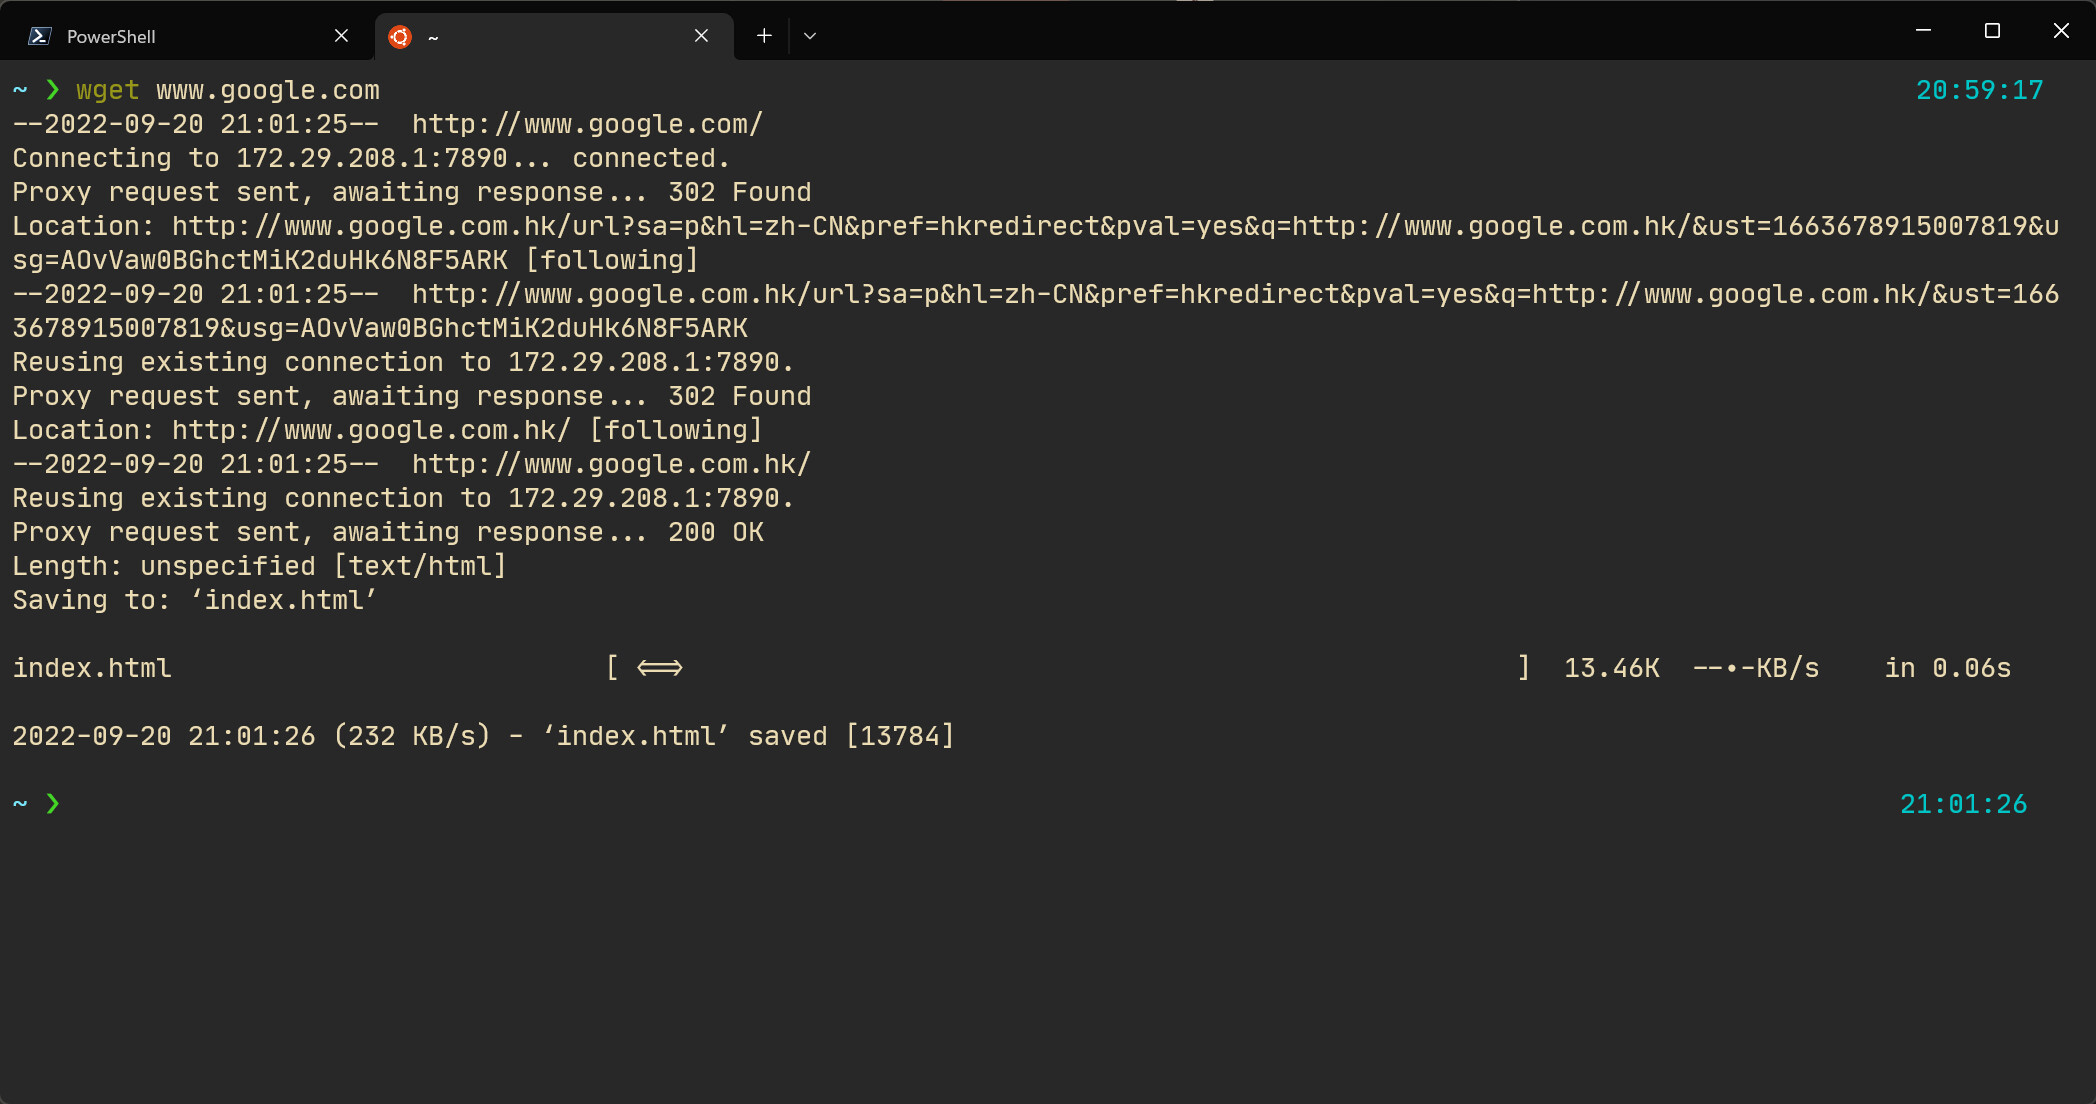
出现这样的画面,并且文件中多了一个index.html就证明已经生效。
换源
使用代理主要是为了加快下载速度,换源也可以达到相同的结果,并且更加方便。这里是ubuntu22.04版本
在路径/etc/apt/sources.list中全部替换为阿里源,其他国内源自行搜索。
deb http://mirrors.aliyun.com/ubuntu/ jammy main restricted universe multiversedeb-src http://mirrors.aliyun.com/ubuntu/ jammy main restricted universe multiversedeb http://mirrors.aliyun.com/ubuntu/ jammy-security main restricted universe multiversedeb-src http://mirrors.aliyun.com/ubuntu/ jammy-security main restricted universe multiversedeb http://mirrors.aliyun.com/ubuntu/ jammy-updates main restricted universe multiversedeb-src http://mirrors.aliyun.com/ubuntu/ jammy-updates main restricted universe multiversedeb http://mirrors.aliyun.com/ubuntu/ jammy-proposed main restricted universe multiversedeb-src http://mirrors.aliyun.com/ubuntu/ jammy-proposed main restricted universe multiversedeb http://mirrors.aliyun.com/ubuntu/ jammy-backports main restricted universe multiversedeb-src http://mirrors.aliyun.com/ubuntu/ jammy-backports main restricted universe multiverse一点小问题
xshell无法连接
开启ssh服务
开启后发现无法使用密码连接。在ssh配置文件/etc/ssh/sshd_config中将配置PasswordAuthentication设为yes
xftp无法连接
在ubuntu配置文件/etc/ssh/sshd_config中将设置Subsystem sftp /usr/libexec/openssh/sftp-server修改为Subsystem sftp internal-sftp然后重启ssh服务。